
We do a lot of hog huntin, trappin and runnin hog dogs. Today we’re goin to show you how we built our own hog trap that works like a charm. We build traps for customers but if you have a welder and a metal yard nearby you can try to tackle it yourself! Here is how we do it. We started with with roughly five 20′ lengths of tubing, you can use round or square. We used round stock for this trap because that’s what we had on hand from another project.
 We began by making the frame. A 4×8′ trap is the most popular size, however you can build whatever size you like. This trap was going to utilize a guillotine door system so we just built the frame with no worries since the door is built on the outside. If you are building a different style door, make sure you take that in to account before starting the frame. We also added rooter bars to the inside the bottom frame. To do this you want to come in about 6” and make another frame inside the bottom frame. This stops them from being able to root their way up the sides and potentially get out. You’ll be surprised how strong they are, especially if you trap more than one.
After we have the frame all buttoned up we start on the door. We used angle iron to make a channel for the door to slide in. You need to give it just enough play while still guiding the door. Be careful you don’t have too much slack or the hogs will notice it as a weak spot and keep banging on it and banging on it to get out. They might get out, they might not but they will wear it out to where you will have to make repairs if there is too much play. As a guideline try to have no more than about ¼”. Too tight and the door could bind and not close as fast as it should, potentially giving a few hogs that split second head start they need to get out!
 We use goat wire for the sides and door of our traps. You can use cattle wire but the gaps are a little big and piglets can get out. If you don’t mind the piglets getting out the cattle wire is cheaper. Around here we are trying to catch them all. We added the wire to the door first since that is the most important part. After you make the door frame then add the wire to the sides of the frame. Make sure you weld every single wire to the frame. They will find weak spots.
We test the door by lifting and dropping it several times to make sure it doesn’t bind anywhere. You want it to drop freely and as fast as possible before moving on to welding the goat wire to the rest of the frame.
Once we have all the sides up and welded we move on to the triggering system. For this we weld bars across the top of the trap to hold the pulley system the plastic coated guy cable will run on. This is the most effective triggering system for a guillotine door we have come across. We then make the plates that will run from side to side for the bait. When you put bait under around and behind these plates the hogs will root around and under them causing the trap door to trigger. Last is to run the plastic guy cable from the bottom of the door, over the pulleys and finally attaching to the triggering bar. You can use a wood broom handle or conduit.
After playing with the trigger system we move on to the wheels and tongue. Yes, we add wheels and a removable tongue to get it in and out of the areas we’re trapping. Sometimes you have to get the trap back in deep to catch them, it’s not always as easy as driving through a field and dropping it off. We made the tongue and the wheels removable so once we get the trap to it’s home for the time being we can take it all off.
 We picked up a few wheel barrow tire assemblies and long bolts to use as axles. Two tabs with holes drilled just large enough to slide the axles through are welded on each side where the wheels will go. Don’t make the holes too big because bouncing around under the weight of the trap will work them loose and you’ll have to stop to put it back together. The tongue is just a simple tongue like you see on any trailer, nothing to it. What we did though is made one end with angle iron to hug the rooter bar from inside so it will pull the trap but once we removed the two bolts that hold it in place, it will come right off. Another thing we like to add is a gate latch system to lock the door when it closes. This has to be done after the door is completely finished and you are sure there are absolutely no other changes that have to be made.
Now that we have the wheels and tongue figured out can get a little fancy with it. We went ahead and make a kick stand for it! It’s pretty heavy and to hold one side up while you remove the wheel could be a pain by yourself.


Now that it’s all finished and every wire and joint double checked to make sure they are solid, we add some paint. We used tractor paint to keep it from rusting since we are in it for the long haul, and we like our traps to last us several years. Some store bought traps are not painted and will rust in no time. When they rust at the joints the hogs find it. Give them a day or so, they will find the weak spots!
Once we put it all together it’s time to take it to the woods! We load it on the trailer and take the 4wheelers to tow it right in to the area we want to trap.


Once you get it where you want it, remove the wheels and tongue. Make sure it is as level as possible with the ground. It can have some gaps here and there since the rooter bars are in place however don’t give them enough of a gap to work on because they will try to use it to get out. We usually put a 5 gallon bucket filled with water inside the trap. We usually check traps a couple times a week but when it gets hot you don’t want them to die… not before you get to them at least! Bait it up real good and let it do it’s job!
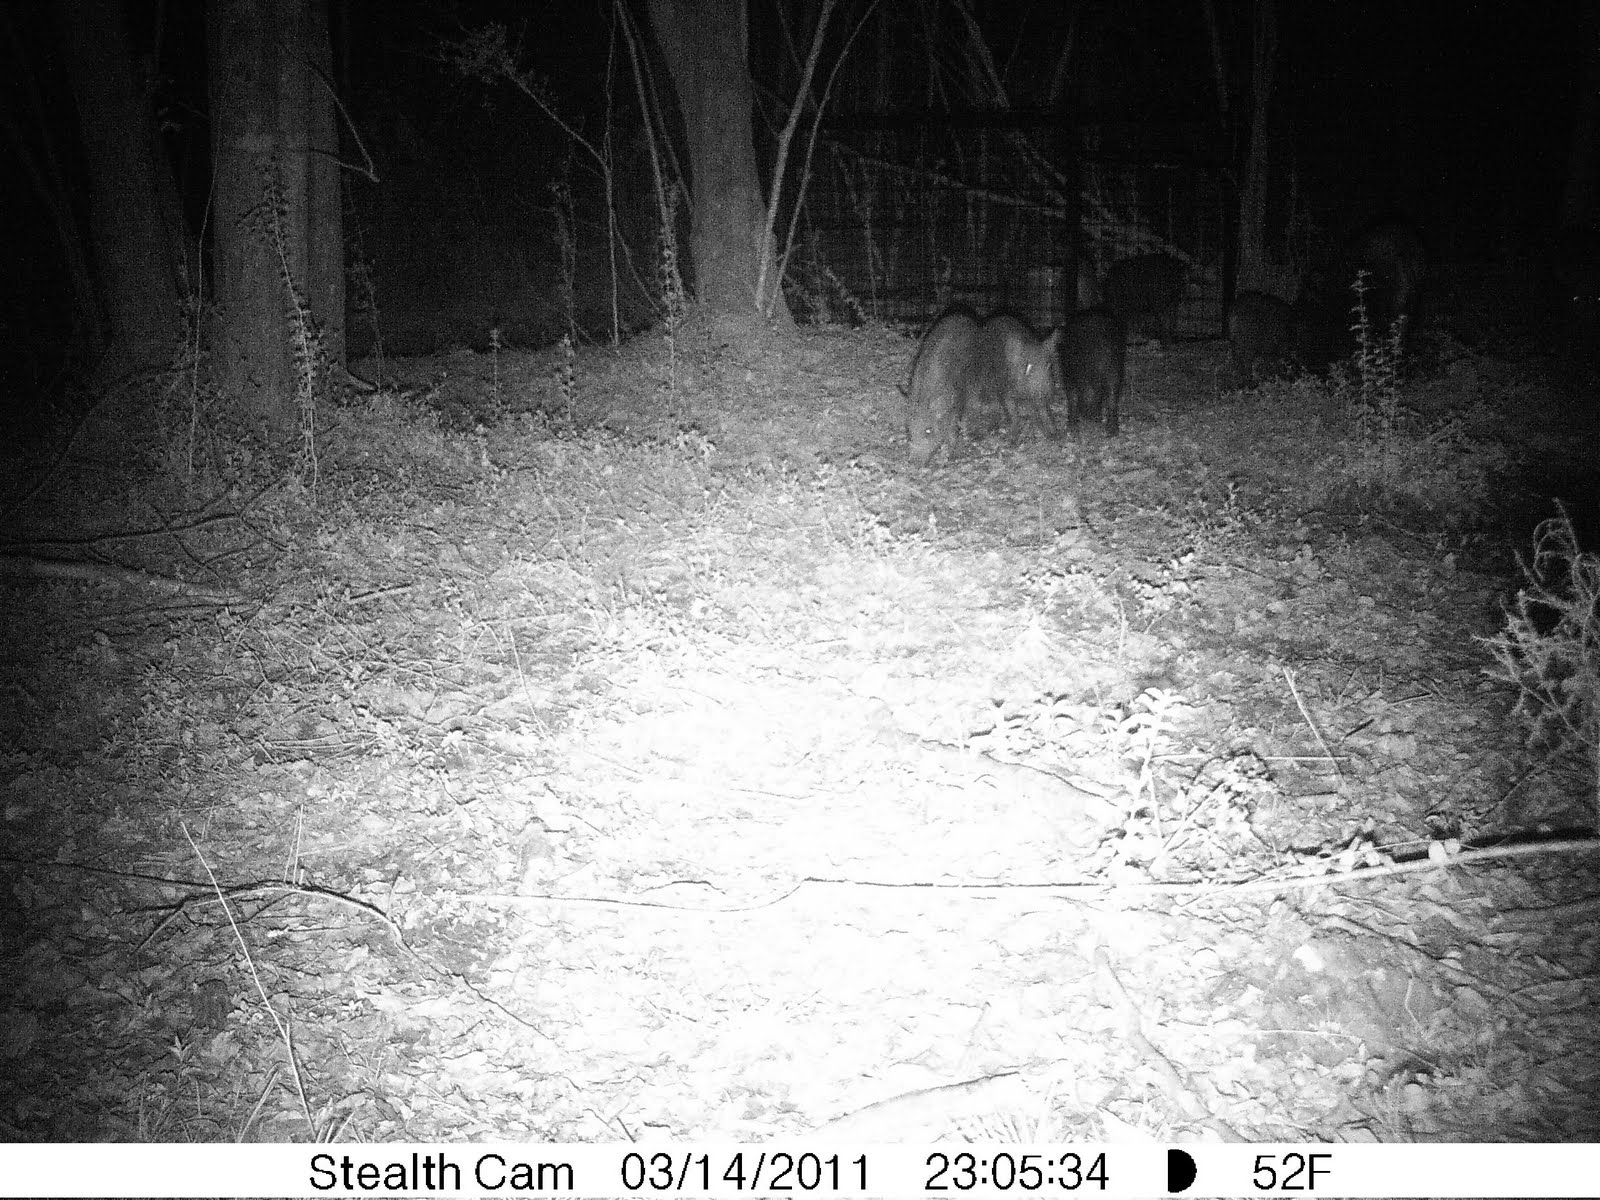
We put a trail camera up to see how the hogs interacted with the trap. We were successful and caught 5 hogs the first time out!!


Add comment